A very sleepy web2 native, making my way to the world of web3 development.
👀☕️ 0xa1cbd8Ed9248B294AC5ce2bcdCA74046B374D211
Disclaimer: The information presented here serves solely for educational purposes only and should not be regarded as financial advice. It is crucial to conduct thorough research before making any financial investment decisions. Keep your curiosity alive and proceed with caution.
Union Network is a high-tech bridge making different blockchain networks work together smoothly. It stands out by using "zero-knowledge proofs," ensuring transactions are both private and secure. This makes Union not just a connector but a super-efficient, secure, and cost-effective solution for sharing everything from digital cash to NFTs across blockchains.
What really sets Union apart is its smart partnerships, enhancing its network with new tech and services, like better security and scalability. Think of Union as the internet for blockchains, aiming to link diverse digital worlds in a fast, affordable, and secure way, constantly upgrading this digital superhighway with its latest collaborations.
In simple terms, Union is like the internet for blockchains – it's trying to connect all these different digital worlds in a way that's fast, cheap, and secure. And with its latest partnerships, it's adding new lanes and upgrades to this digital superhighway.
Union is developed to be a scalable powerhouse:
Fast: bridging transactions are generated and settled quickly.
Secure: abide by fork-choice rules.
Future proof: core tech is built for the next decennium.
Easy to use: high-level API usable for developers from any ecosystem.
You can find their official docs here: Union Developer Documentation
Getting Started
This guide will instruct you on running a node for union-testnet-6 .
Minimum System Requirements
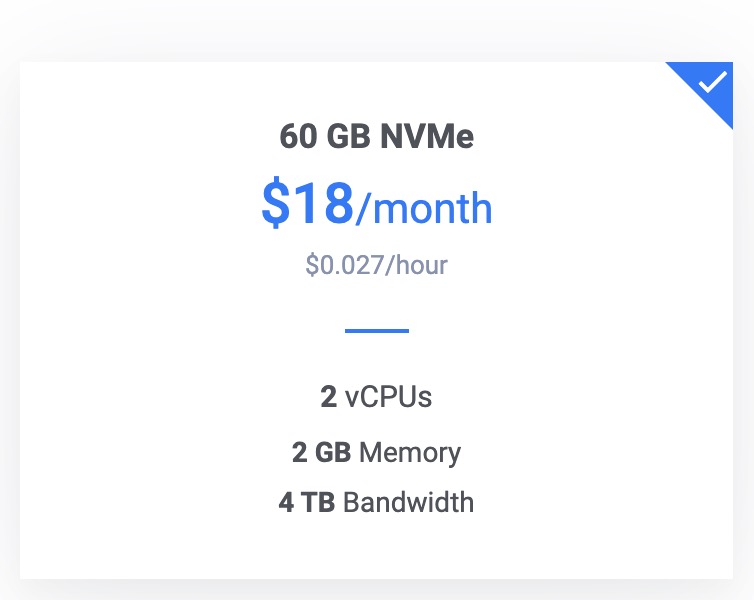
2 vCPUs
2 GB Memory
60GB NVMe
4TB Bandwidth
Order and Configure your VPS
You have the option to set up your node by configuring it on a personal computer or by utilizing a Virtual Private Server (VPS). A VPS is particularly suitable for handling websites, applications, or various online services, including nodes.
For all my VPS needs, I always use Vultr. It provides a robust and user-friendly platform with global data centers, fast SSD storage, and flexible deployment options to meet your specific needs, making it a top choice for businesses and developers alike.
I also like that they charge by the hour, it is ideal for users with fluctuating demands or short-term projects, as you only pay for the exact hours you use. It allows users to quickly test new configurations or projects without a long-term financial commitment, minimizing upfront costs.
Start your Vultr journey here.
Choosing a Server Type and select Cloud Compute
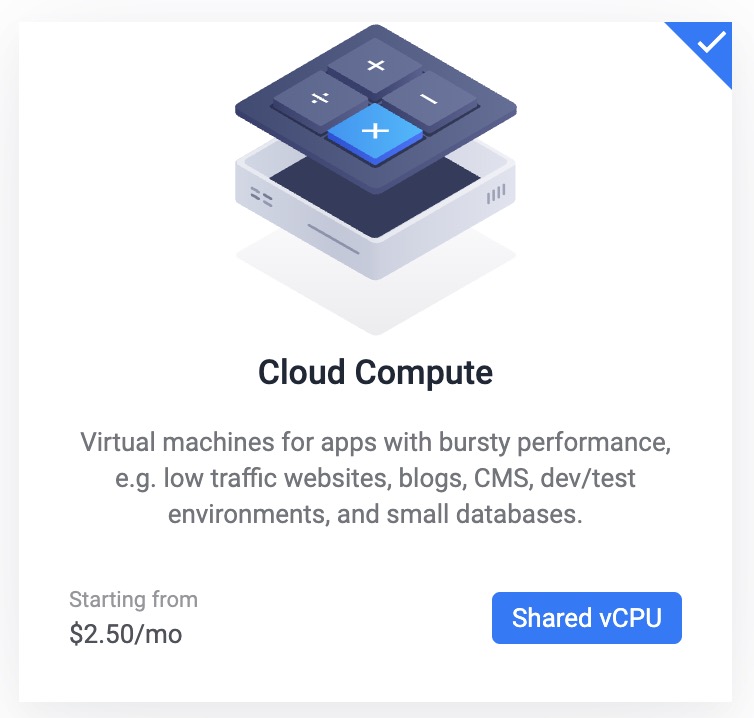
CPU & Storage Technology select AMD High Performance

Server Image select Ubuntu 20.04 LTS x64

Server Size select 60 GB NVMe at 18USD per month
You can also opt out of enabling Auto Backups if you want to save money.
Add a Server Hostname and Label. You can update this later too.
Connecting to Your Server
I am using Mac so I am using Mac's native terminal.
Here's a guide on how to use Putty on Windows to connect to Vultr. This can also be used as a guide to connect to any VPS provider.
Let's setup our server!
We need to first install essential components.
sudo apt update && sudo apt upgrade -y
Docker needs to be installed correctly and configured properly on your server. See their guide here: Running the Client Binary
sudo apt install apt-transport-https ca-certificates curl software-properties-common
curl -fsSL https://download.docker.com/linux/ubuntu/gpg | sudo apt-key add -
sudo add-apt-repository "deb [arch=amd64] https://download.docker.com/linux/ubuntu focal stable"
apt-cache policy docker-ce
You will see output like below if you executed above commands properly:
docker-ce:
  Installed: (none)
  Candidate: 5:19.03.9~3-0~ubuntu-focal
  Version table:
     5:19.03.9~3-0~ubuntu-focal 500
        500 https://download.docker.com/linux/ubuntu focal/stable amd64 Packages
Then continue with below commands:
sudo apt install docker-ce
sudo systemctl status docker
You will see below output followed everything correctly:
Output
● docker.service - Docker Application Container Engine
     Loaded: loaded (/lib/systemd/system/docker.service; enabled; vendor preset: enabled)
     Active: active (running) since Tue 2020-05-19 17:00:41 UTC; 17s ago
TriggeredBy: ● docker.socket
       Docs: https://docs.docker.com
   Main PID: 24321 (dockerd)
      Tasks: 8
     Memory: 46.4M
     CGroup: /system.slice/docker.service
             └─24321 /usr/bin/dockerd -H fd:// --containerd=/run/containerd/containerd.sock
Setting up our node
First, set our environment variables, which we are going to use throughout initialization. See: Union's Initialization Guide
export CHAIN_ID=union-testnet-6
export MONIKER="Your preferred moniker here"
export KEY_NAME=your_preferred_key_name_here
export GENESIS_URL="union.testnet.6.seed.poisonphang.com:26657/genesis"
export UNIOND_VERSION=v0.19.0
Second, get the Docker Image. See: Union's Docker Image Download
docker pull ghcr.io/unionlabs/uniond-release:$UNIOND_VERSION
Third, we need to create a folder to host the chain configuration and state. See: Union's Chain and Config State Folder
mkdir ~/.union
Fourth, initializing the Chain and Config State Folder. See: Union's Initializing the Chain and Config State Folder and Initialization Guide
Below command is what worked for me.
uniond init $MONIKER "bn254" --chain-id $CHAIN_ID
Fifth, edit ~/.union/config/config.toml. We need to set the seeds to ensure our node can connect to the peer-to-peer network. See: Union's Seeds Setup
nano ~/.union/config/config.toml
Press ctrl + w to start searching for keywords. Search for seeds = then press enter. You will see something like this:

Update the seeds variable value to below:
seeds = "b37de4c50e26f7cde4c7b6ce06046a6693ffef2c@union.testnet.6.seed.poisonphang.com:26656"
Sixth, we need to run uniond sub-commands, it will be useful to alias the Docker command in your shell .*rc file. See: Union's Sub-Commands Guide to uniond
nano ~/.bashrc
alias uniond='docker run --user $(id -u):$(id -g) -v ~/.union:/.union -v /tmp:/tmp --network host -it ghcr.io/unionlabs/uniond-release:v0.19.0 --home /.union'
Try executing uniond, you should see something like below:
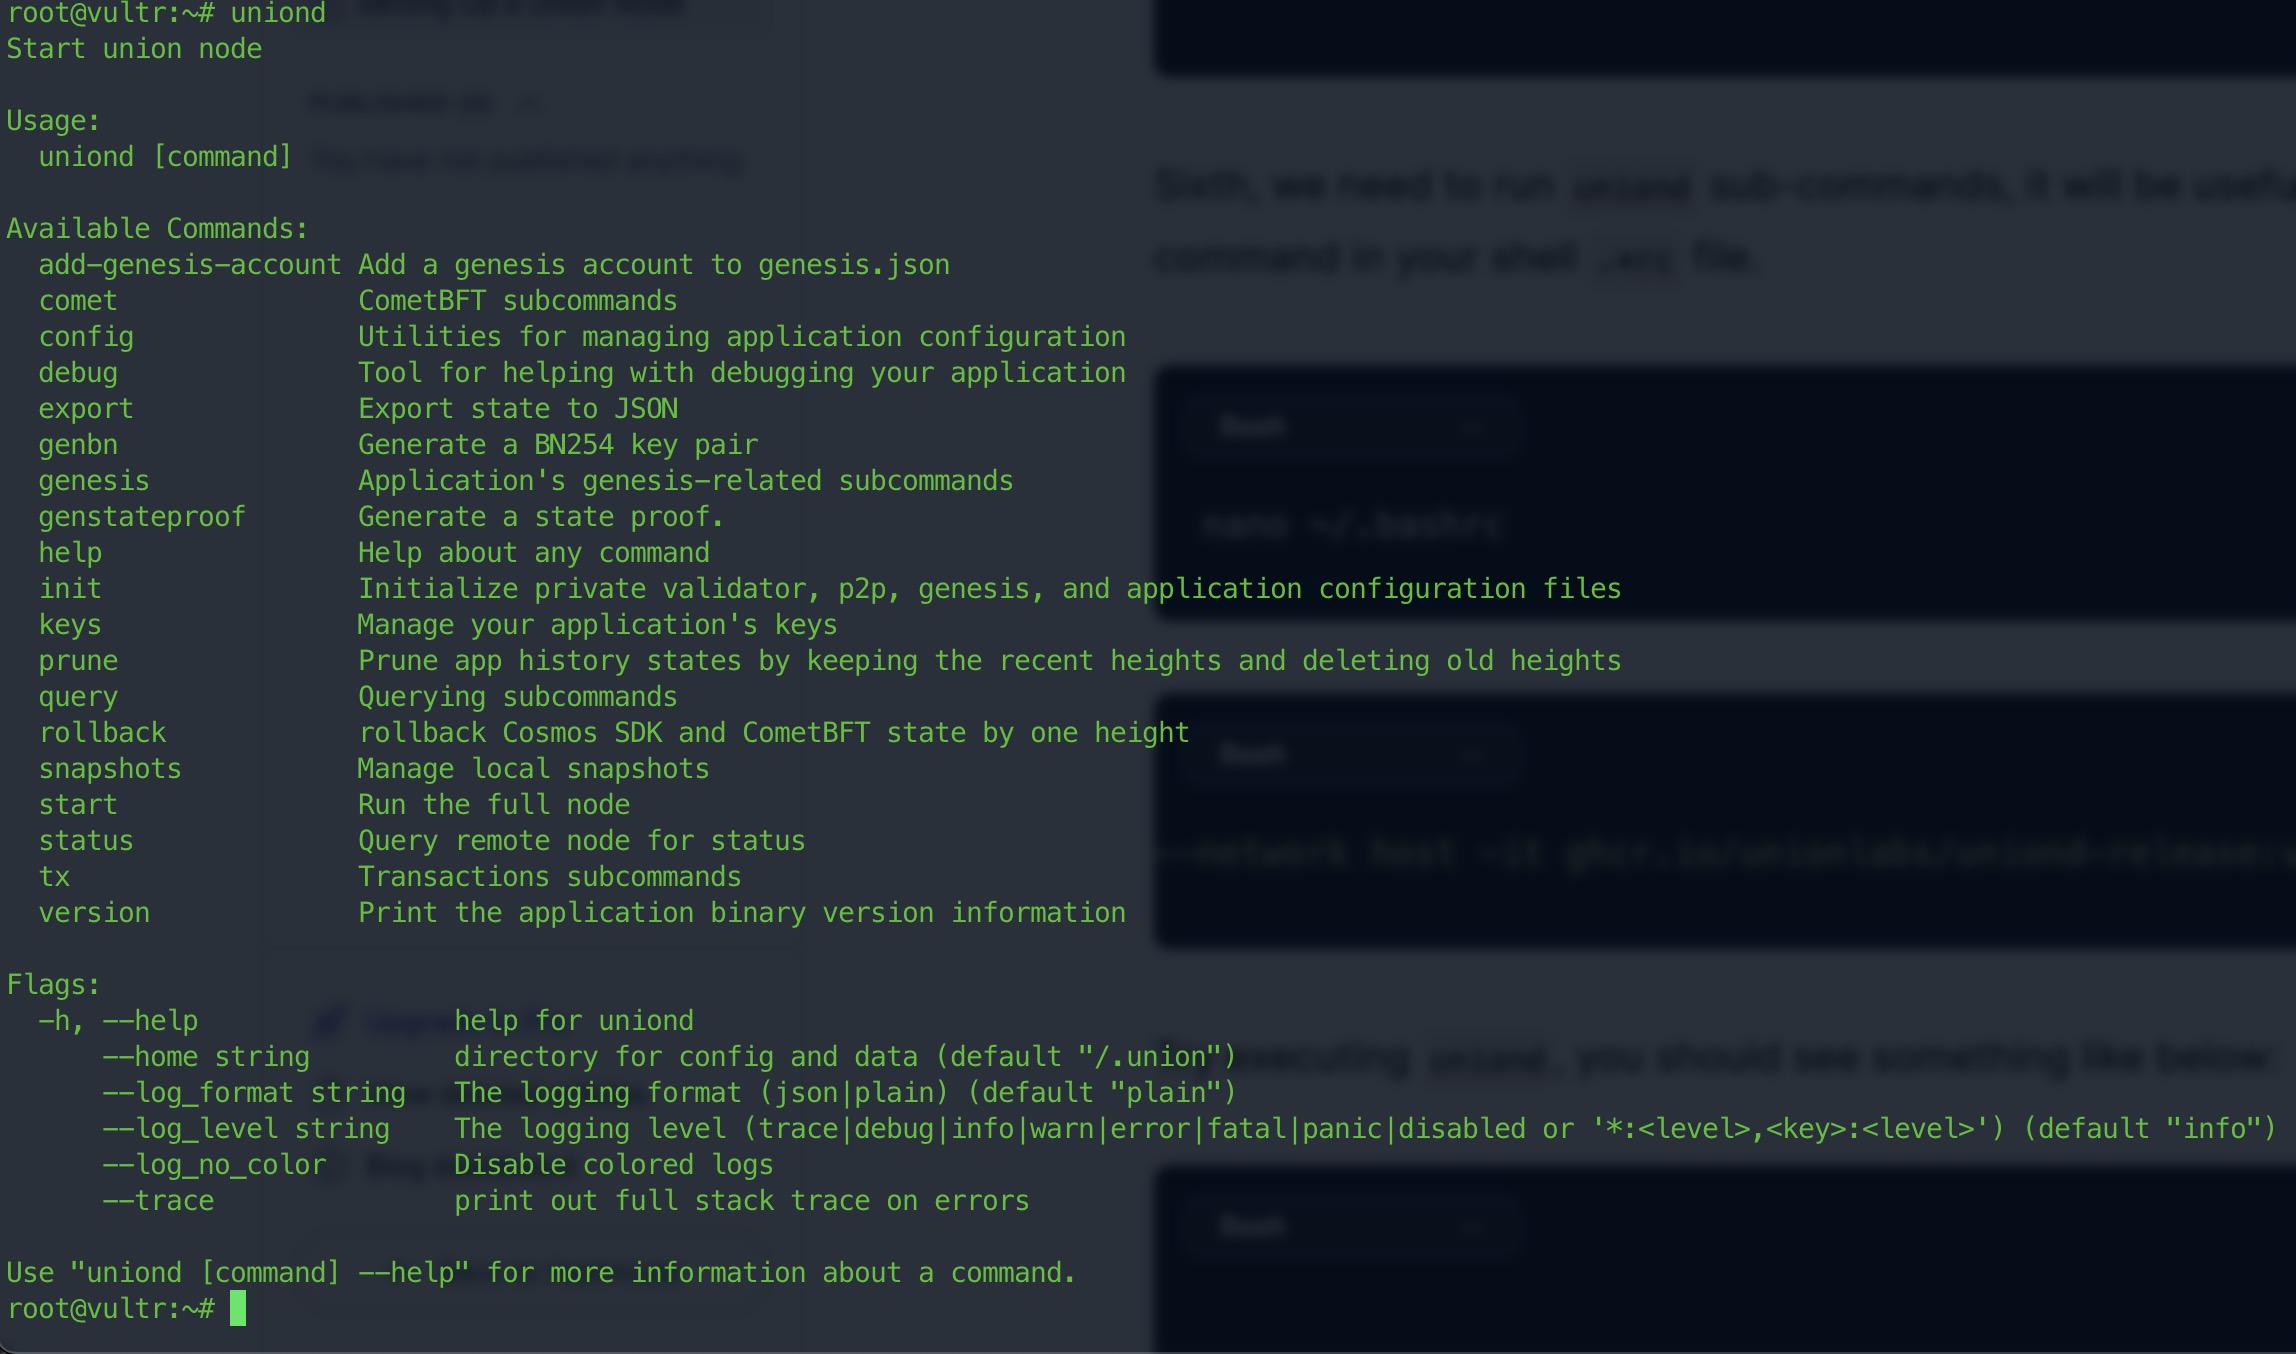
Seventh, create a union-docker folder where we can store our compose.yml file
mkdir ~/union-docker && cd ~/union-docker
Create our compose.yml file and it's contents. See: Union's Setting Up compose.yml
nano compose.yml
services:
  node:
    image: ghcr.io/unionlabs/uniond-release:v0.19.0
    volumes:
      - ~/.union:/.union
      - /tmp:/tmp
    network_mode: "host"
    restart: unless-stopped
    command: start --home /.union
Now you are done!
We are now ready to run our Union node.
cd ~/union && docker compose up -d
To see if your node is up and running:
docker compose ps -a
You will see something like this

To check if your node is correctly running, we need to check the docker logs and it's contents
docker logs --tail 20 union-node-1
You will see the last 20 logs for our Union node and it should look something like this
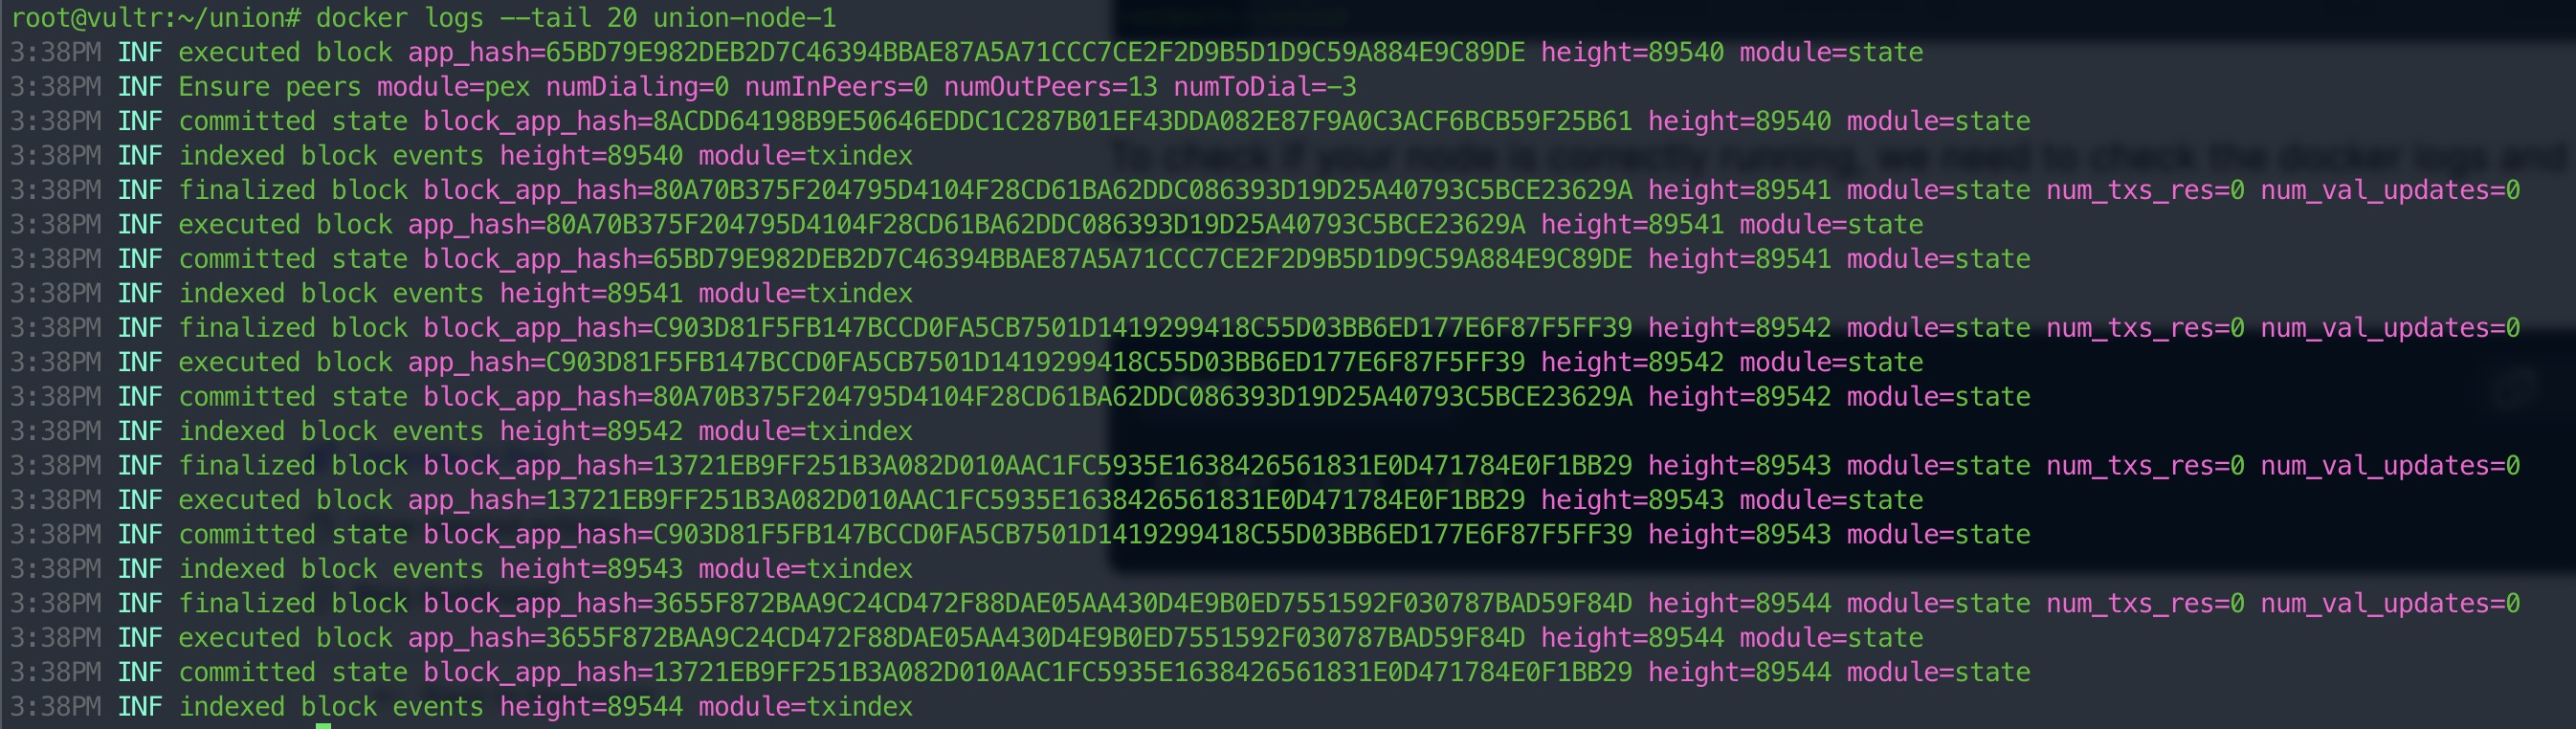
If you see committed state, executed block, finalized block, etc., this means that your Union node is properly working.
That's it!
Optional: Setup Union Account and Mnemonic
To create a new Account and mnemonic, use the following sub-command of the uniond binary.
uniond keys add $KEY_NAME
WhereKEY_NAME is the name you would like to use when referencing your key.
Make sure to securely store the new mnemonic phrase that was outputted by the command.
You can also take note of your address here.